Room Setup
Video Tutorial
Introduction
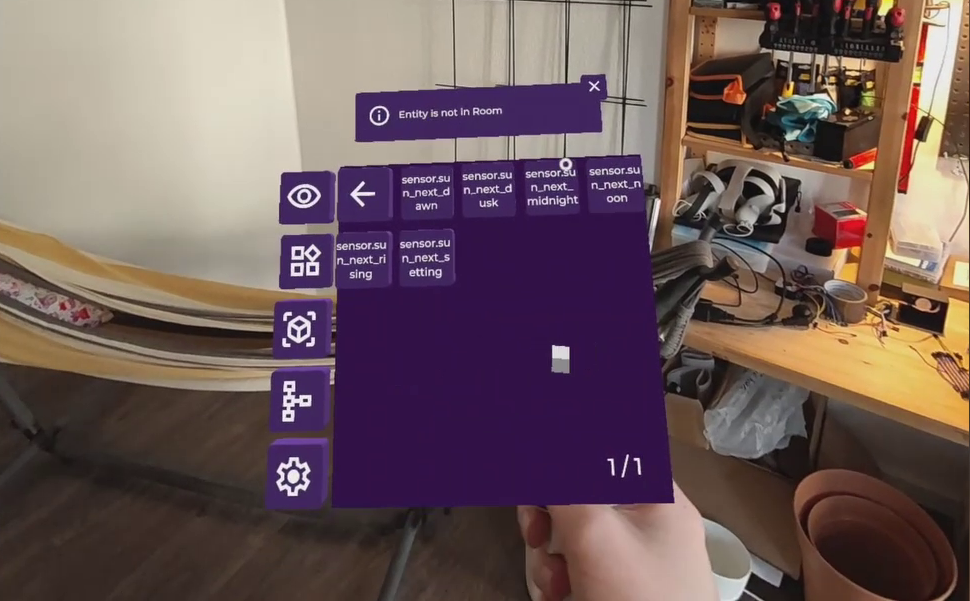
In order to be able to add entities into your virtual home, you have to configure the rooms first. Otherwise you will get an error message like on the image below.
Adding a Room
- Open the Menu
- Click on the 3rd button from the top to open the Room Setup Panel
- Click on the Room button to open the Rooms tab.
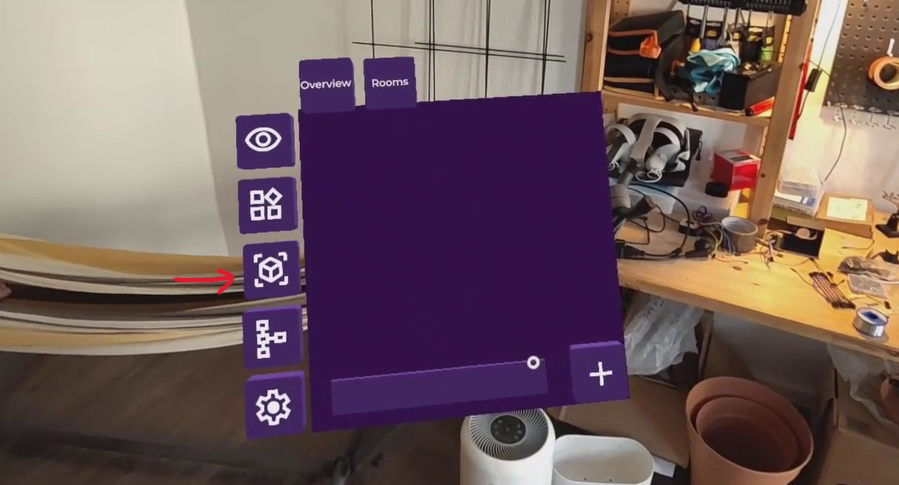
- Click on the + button to add a new room.
- Enter the name of the room
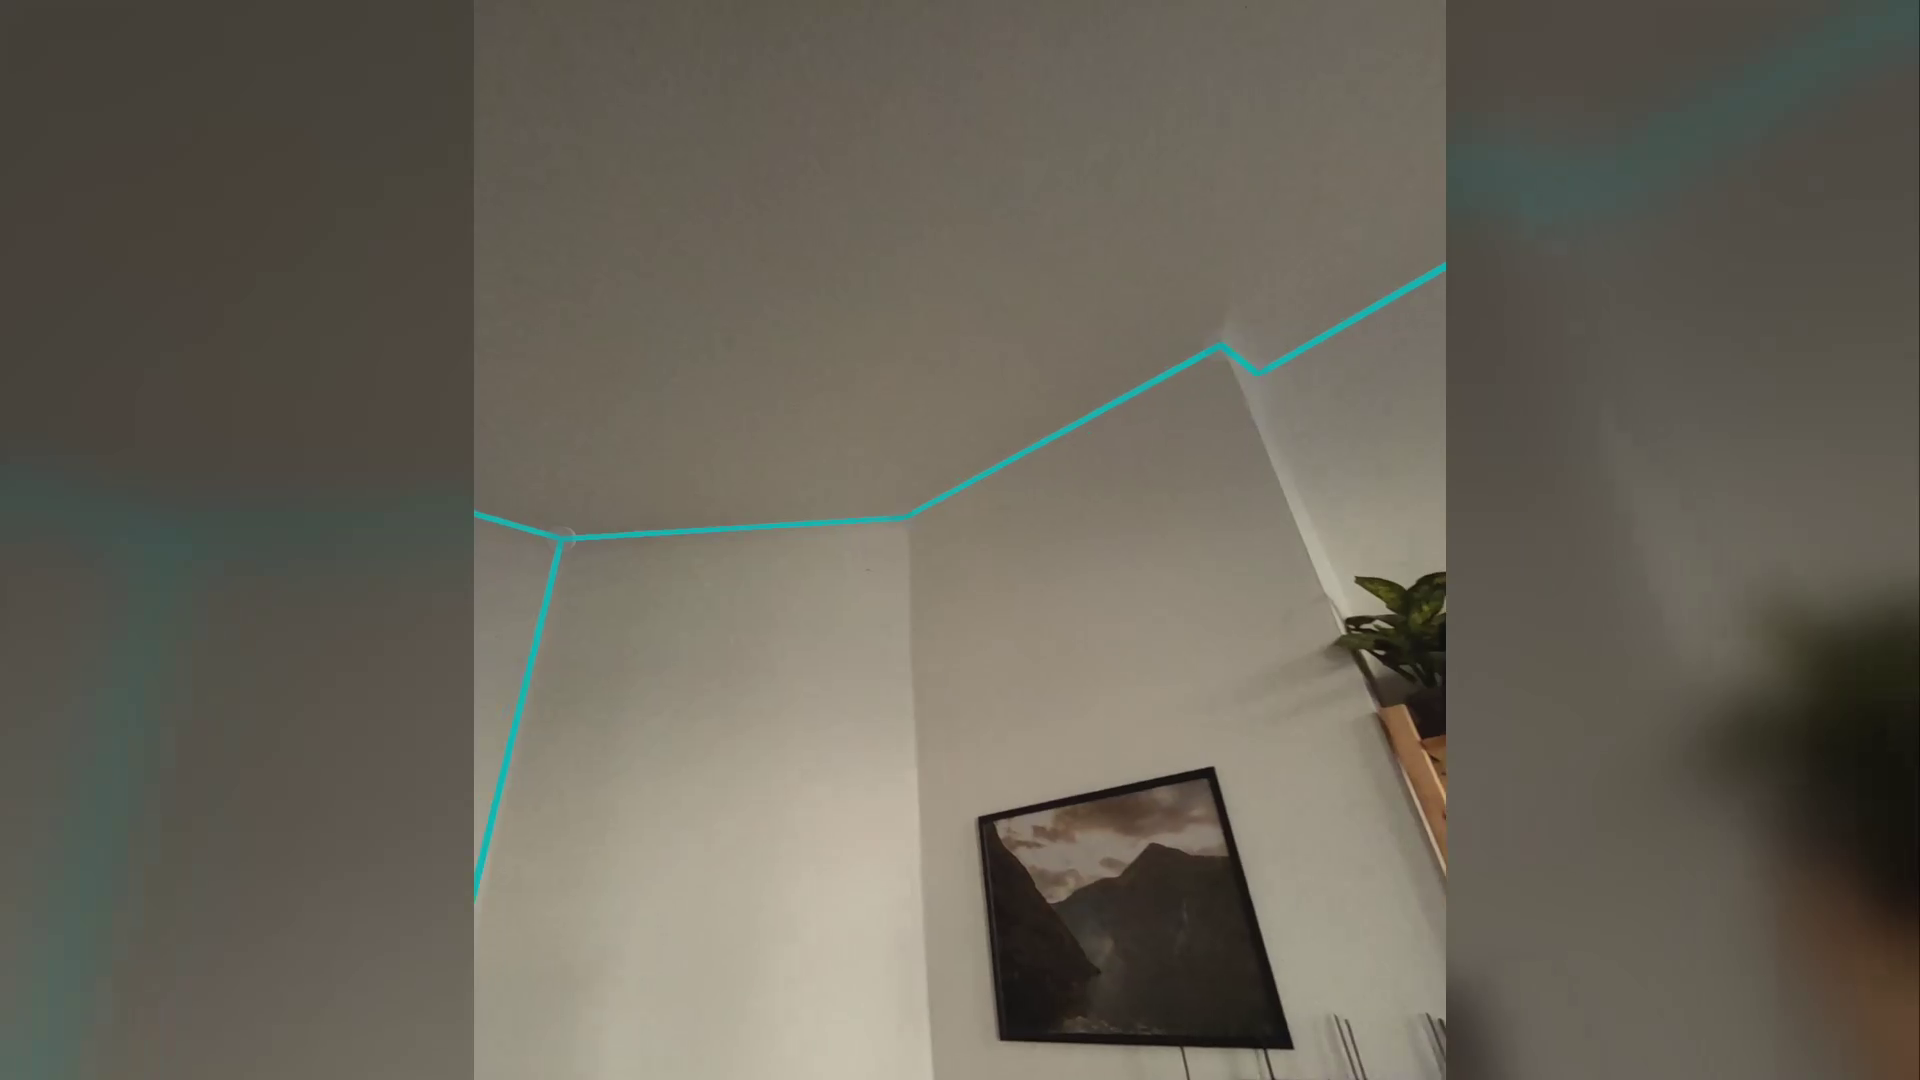
- Click in a corner on the floor to add the initial corner

- Adjust the height of the room by moving the upper circle until it matches the height of the room
- Click on another corner on the ceiling to add the second corner
- Continue adding corners to the ceiling until the room is fully enclosed
- Click on the Save button to save the room
Reference Point
The reference point will allow you to fix the positioning of your rooms in case they got changed after you redid your boundary or similar. Here the steps:
- Go to the Overview tab of the Room menu
- Click on the edit button (pen icon)
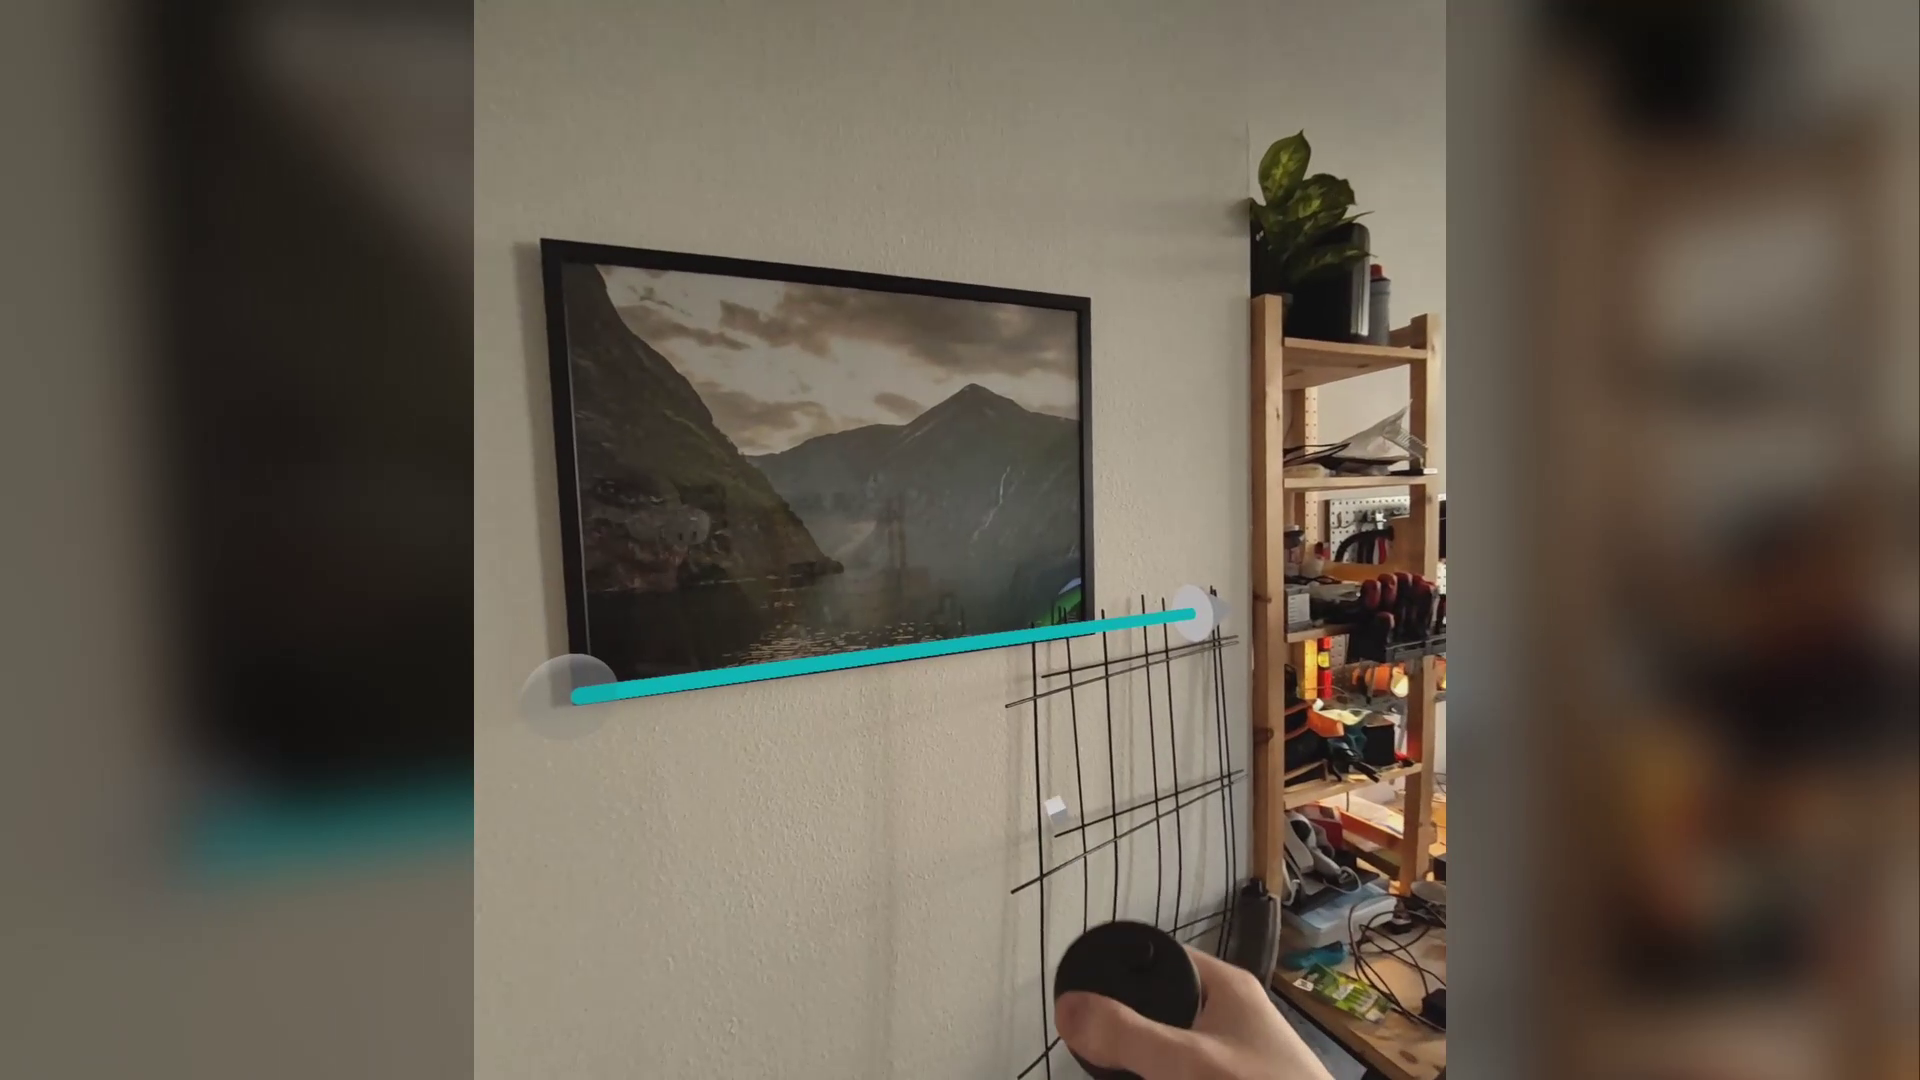
- Locate and move the Reference point to a desired location, for example an image hanging on the wall or a window
- Press the save button
The result should look something like this:
In case that your room now has moved after starting the app again, you can do the following to fix the alignment again:
- Go to the Overview tab of the Room menu
- Click on the fix button (band aid icon)
- Move the Reference Point back to it's original position
- Press the save button
This should result in the room being in the right spot again. In case there is something wrong at the moment, restart the app and everything should be back to normal.